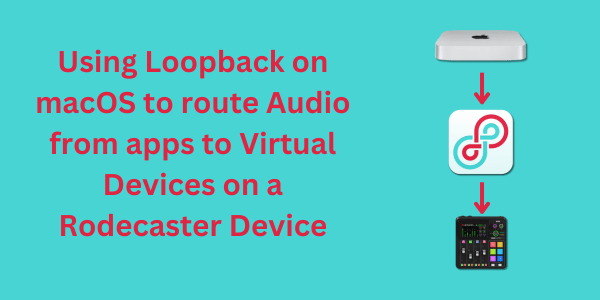
For macOS users working with a RØDECaster Pro II (RCP2) or RØDECaster Duo, routing audio from applications that don't allow direct output selection can be a challenge. Thankfully, Loopback from Rogue Amoeba provides a powerful solution by creating virtual audio devices that can be mapped to the RØDECaster Pro II or Duo's monitor outputs.
This guide will walk you through setting up Loopback to manage and direct audio exactly where you need it.
Why Use Loopback?
Some applications, such as certain video conferencing tools or media players, do not offer built-in options to select an output device. This can be a problem if you want to isolate their audio for mixing, streaming, or recording.
Loopback allows you to:
- Capture and route audio from any application.
- Combine multiple sources into a single virtual device.
- Send specific audio feeds to different outputs, including the RØDECaster's virtual channels.
Setting Up Loopback
1. Create a Virtual Audio Device
- Open Loopback and click New Virtual Device.
-
Name the device something recognizable
(for example,
Zoom AudioorMusic Feed). - In the Sources section, add the application whose audio you want to route.
- Ensure the output channels are mapped correctly (typically 1 & 2 for stereo output).
2. Configuring the RØDECaster Pro II / Duo
The latest RØDECaster Pro II and Duo firmware updates introduce new virtual devices when USB 1 Multitrack Expanded is enabled. These provide stereo outputs that can be used to route audio to virtual devices named Virtual A, Virtual B, Game, and Music.
- Open RØDE Central and navigate to the Audio Setup tab.
- Identify which Virtual Channel (Virtual A, Virtual B, Game, or Music) you want to receive the Loopback output.
- Loopback does not see these virtual devices in the list of monitors available. The end user must select the RØDECaster device and then manually assign the left and right channels to the corresponding numbered channels for the virtual device.
- Adjust volume levels to ensure proper audio balance.
3. Channel Mapping for Virtual Devices
To help with assigning channels correctly, refer to the table below:
| Channels | Virtual Device |
|---|---|
| 1 & 2 | Main Stereo |
| 3 & 4 | Game |
| 5 & 6 | Music |
| 7 & 8 | Virtual A |
| 9 & 10 | Virtual B |
4. Routing Loopback Audio to the RØDECaster
- In macOS Sound Settings, set your newly created Loopback device as the output for the application.
- In Loopback, ensure the virtual device is routing audio correctly.
- On the RØDECaster Pro II or Duo, select the corresponding USB Input for monitoring or mixing.
Use Case Examples
- Isolating Zoom Audio: Route Zoom's output through a Loopback virtual device and into a dedicated RØDECaster virtual fader for mixing with other sources.
- Playing Music from Spotify: Capture Spotify audio in Loopback and send it to a separate RØDECaster channel.
- Managing System Alerts: Prevent system sounds from interfering by isolating them into their own virtual device.
Final Thoughts
By combining Loopback with the RØDECaster Pro II or Duo, you gain full control over your audio routing, overcoming the limitations of applications that don't allow direct output selection.
Whether for podcasting, streaming, or live production, this setup ensures seamless, professional audio management.
Historical Note: This article was originally published on January 1, 2025. Since publication, RØDECaster firmware, macOS, Loopback, and related audio-routing workflows may have changed. The procedures described here are preserved for historical reference and may not reflect current software versions.